Wednesday, January 23, 2013

Breakfast for Whenever

So, you say you would love to eat healthy, but cooking at home takes so long? Well this is for you. It's fast to make, easy to make, healthy, and to top it all off, delicious and totally customizable. It is your very own, personal frittata.

What is a frittata? Well, it's basically a Spanish omelette-quiche crossbreed that went devastatingly right. The great thing about frittatas is that:

1. You don't have to flip them.
2. You don't have to let this one bake for an hour.

So it has all the delicious qualities of omelettes and quiches, but without the time consumption and IHOP line cook level cooking skills. It also doesn't have over half your day's worth of calories, much unlike an IHOP omelette.

The absolute greatest thing about this is that you can put literally anything you want into it! Spinach? Sure. Roasted potatoes? Definitely. Leftover spaghetti noodles from two nights ago? You bet your sweet bippy. Using leftovers in these is a great way to not only reduce the waste you'd be making if you just ended up throwing it away, but using pre-cooked meats and/or vegetables cuts way down on cooking time.
 Here's what went into mine:

You will need a 6" pan and it's lid. It'll probably be the smallest one you have if you have an entire set.

2 eggs, beaten.
1 Tbsp milk
A literal pinch of salt
4 roasted fingerling potatoes, diced. (Two of them were purple.)
2 brussel sprouts, chopped
1 oz. turkey, diced
1 oz. cheese of your choice. Goat cheese would be pretty bomb. I used cheddar.
1 tsp. olive oil

First, get your pan heated. Set it to a low heat, about the 3rd notch on most burners. Oil the pan.

While the pan heats, beat your eggs, adding the tablespoon of milk and salt until it's all combined. Leave your eggs alone now.

Next, add the potatoes and chopped brussel sprouts to the pan, and sautée them until the brussel sprouts are just wilted and everything is warmed through.

 Toss the turkey in and stir everything for about 30 seconds. Now pour your eggs in.

DON'T stir anything now. Cover the pan, and let it all sit for about 5 minutes, or until the surface has no runny egg.

 Remove the pan from the heat, and sprinkle on your cheese. Put the lid back on and let sit for another minute to let the cheese melt.

Using a flexible rubber spatula, slide up under the frittata to lift it free from the pan. If you oiled it well enough, or if it's nice and non-stick, it should be very easy.

Once loosened, you should be able to gently slide the frittata onto a plate.

Serve hot with fresh fruit, and enjoy :) This recipe can serve one or two people, depending on how much you'll eat. You can substitute one of the whole eggs with just a white, or you can probably just use egg whites. Your options are pretty much limitless with this, so have fun with it!

Now let me apologize for the very unappetizing-looking cheese square that's all over my frittata. We were out of shredded cheese.

Tuesday, January 1, 2013

New Year...New You?

It's finally 2013. I no longer have to wade through pages of Facebook statuses proclaiming that it's "1/1/01, 2/2/02, 3/3/03..." and so on. In fact, if you make it your New Years' resolution to NOT make a post pointing out the date, then you will have finally actually gone through with one.

Maybe. There will always be May the 4th (be with you...)

But seriously, how many people really go through with their resolutions? According to this, only 8% of people who make resolutions come out successful. 25% don't even last a week! And only 46% last six months or longer. So at this point you're probably thinking, "ugh Emily, you're so negative. At least they're trying!"

Sure, they're trying. And in all seriousness, that's great. 54% of people in America don't even make a resolution. However, I've come to understand that people set their goals unrealistically. Television, movies, magazines, you name it. Inspiring stories of weight loss and self-improvement easily become muddled up with reality. For example, I think that The Biggest Loser, as much as I like to watch it, sets people up for unrealistic expectations. They see the contestants on the show losing 12+ pounds every week, but what they don't always remember to take into consideration that those people are extremely overweight, so losing that much weight every week is actually easier for them (and you can see later in the season that the weight they lose each week typically starts to decline more and more as they lose weight). This is because what has caused them to get so overweight: overeating, and not exercising enough, has been completely flipped upside down in a highly contained and inspiring environment. Those people are working out numerous hours every day with celebrity trainers, and have dietitians planning most of their meals. For the average person who hasn't been blessed enough to have such an awesome opportunity, this just isn't possible.

What is possible, however, is setting several short-term goals over the span of a year. Instead of having one big, vague resolution, like "eat healthier" or "lose weight", be specific. Here's an example:

  • For one month, I will replace my caramel frap with a home made peanut butter banana smoothie.
    • This will help you transition into a habit of eating foods that offer more nutrient density, that is, foods that are pretty low in calories compared to the benefits that have (fiber, vitamins, etc).
    • Just replace caramel frap and the smoothie with your own vice and alternative.
    • It would also save you some money ;)
  •  I will continue to replace [vice] with [alternative], and replace 3/4 of refined carbs with whole grains/"good" carbs for another month.
    • Again, you're replacing bad with good, but not totally cancelling it out. Restriction leads to temptation, which leads to succumbing and then failure.
    • You don't have to cut out carbs, either. Mypyramid.gov has a handy little tool called Supertracker, which you can use to track your meals. Take an average of three days and see if you eat too little or too much of something. For example, if your results show (or maybe you just know) you eat too much meat and beans, but not enough fruit, replace some of the meat you eat with fruit at your meals.
  •  Continue to either add new goals and adjust as you reach each one, or lay them all out from the beginning. Just remember - allow yourself some flexibility. If you're in school and busy most of the year, don't worry about a gym membership, but do try to work out when you can. Use your time out of school, such as during Winter break or Summer, to get out and do more than your normally would. Go hiking, swim some laps, run on the beach while you're on vacation (it's pretty hard on the dry stuff)!
  •  A good workout for beginners, or people who are just short on time is this:
  1. Run (or walk) for 10 minutes a day. See how far you can go in the ten minutes. Every day, push yourself just a little bit more. You'll notice quickly that you'll be going further and further every time.
  2. Try to get to the point where you can comfortably run a mile within the ten minutes. If you can run more, great!
  3. Add 5-10 minutes as you get faster. Eventually, your speed will level off, but your endurance will continue climbing.
  4. Add as much time as your schedule allows. Getting out to run for 15-20 minutes a day is better than doing nothing at all! 
What's great about running is that you don't need to pay for anything, unless you don't have any kind of running shoes already. What's great about this plan is that it's easy to change to fit with a schedule that always changes.

Finish off your runs with various body-weight exercises like push-ups and squats, and core exercises like planks. One of my favorite core exercises is doing headstands. Throwing your body off it's normal balance challenges your muscles to relearn how to keep your body aligned.

Changing your habits isn't a matter of a single goal. It's a process and ultimately a complete change of lifestyle. You can't cut out carbs forever. You will literally die, or get very, very sick. You can't live your life constantly counting points or ordering pre-planned meals, either. However, you can take 10 minutes out of your day to challenge yourself to run as far as you can, or replace something in excess. A lifestyle overhaul is what will really give you "lasting results" because it's real, and it is for the rest of your life. So give it a try this year, if you have a resolution, to make it realistic, flexible, and life-long.

Sunday, April 8, 2012

Blueberry FIlling

Every year for Easter, I make some kind of special Spring-themed cupcake. I even get extra-fancy with decorating them! Last year, I made peach and lavender, and decorated them with little fondant peaches.

This year, I brainstormed what do I think of when I think of spring? And three things came to my mind:
Flowers
Bees
Berries

Very general, right?
I decided I would make a delicate, almond-flavored cake filled with blueberries and finished off with honey buttercream.

Here's the recipe for the filling.

Blueberry Jam

2 cups fresh blueberries
1 cup + 3 Tbsp 100% blueberry juice
2 Tbsp honey
1/4 cup arrowroot powder
Dash allspice

Arrowroot powder? Whatever happened to gelatin or pectin? 
Honestly, I just didn't have any gelatin or pectin. But what I did have was some arrowroot powder left over from some black forest cupcakes I made a while back. Arrowroot powder is typically used as a vegan alternative to gelatins. And let me tell you, it works.

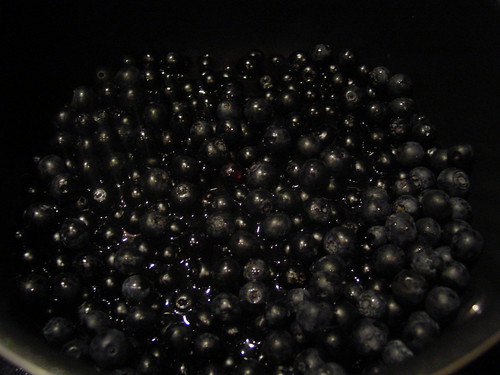
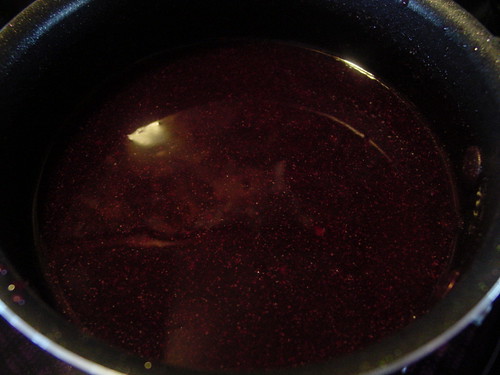
Begin by bringing your blueberries and 1 cup of the juice to a bowl in a medium sauce pan.
  
Once boiling, add the honey and stir to mix it in.
Allow your mixture to boil until the berries start to look shrivelly. Much like your fingers when you've boiled in a hot tub for too long.
While waiting for this to happen, mix the remaining 3 tablespoons of juice and the 1/4 cup of arrowroot powder together. I suggest putting the juice into the bowl first then slowly mixing the arrowroot powder in. If you don't, it'll clump up at the bottom and make big, chewy blobs when you pour it into your otherwise nice, uniform jam. Once homogenized, add the mixture to the pot with the berries, stirring the entire time. If you don't, again, big gummy globs will appear. The mixture will begin to thicken immediately. Allow it to simmer for an additional 5 minutes, then remove from heat and store in an air-tight container in the refrigerator. It will not be a wobbly brick of blueberry-studded jello. Rather, it will be a nice, slightly thick, spreadable jam.

Wednesday, October 26, 2011

Holidays

The holidays are quickly approaching, so I've been brainstorming ideas for recipes to try out this year. Last Christmas, I made pumpkin cupcakes with eggnog frosting. I'm considering making them for Thanksgiving this year. With my recent ventures in making caramel apples, I've also gained some confidence in the confectionery area outside of rumballs and fudge. So here is what I'm planning to make (and hopefully share here) in the next couple of months...

Thanksgiving

Pumpkin cupcakes with whipped spice frosting
Roasted turkey (oooh)
I may think or make more :)

Christmas
Classic fudge
Chocolate cherry rumballs
Classy Caramel Chews
Peppermint mocha cupcakes
Swedish Christmas cookies
Gingerbread

Tuesday, August 16, 2011

Raw Food Inspiration: Pineapple "Icecream" Bars

As I waste away the few dwindling days of summer that I have left, I am finding that all of a sudden, I want to make so many different recipes...but I have so little time. School starts on Thursday, and quite frankly, I am not sure what to think. I don't want to underestimate my classes and be shocked when they turn out to be challenging, but I also want to avoid expecting too much and stressing for no reason (I tend to do that fairly often). Naturally, I turned to other activities to distract myself from dwelling too much on my impending year of stress and horrible anxiety. And fun college stuff, too. Totally.

This week, I've hit up the Ross and Target for some new clothes before beginning to the new school year. I found some nice Asian floral shoes, and some sweet shirts at Ross, and I almost got a denim floppy hat that I would've hot glued a sunflower onto (I rocked it when I was 5). But this isn't a fashion blog. This is a cooking blog, so onto the good stuff. I also stopped by Barnes and Noble, as I tend to do if I'm in the area and find myself with an extra stretch of time to waste. Recently, I've been obsessed with reading through their vegan and raw food selections. Several months ago, I made a chocolate cake out of nuts, dates, and some other surprising ingredients. Anyways, my coworker was recently complaining to me that he is going to become obese if I keep bringing sweet things to work. Since I couldn't just stop coming to work (get it? I'm a sweet thing), and it's been so hot lately, I decided to make a healthy, frozen raw food dessert: Ani Phyo's Pineapple Icebox Dessert Bars. I have tweaked the recipe a little, since cashews are so expensive. But it tastes great all the same.


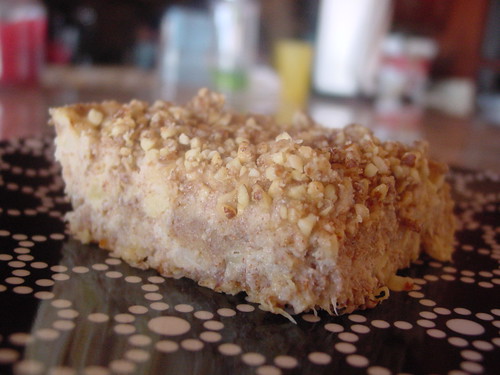
Nutbutter Pineapple Bars 
Adapted from Ani Phyo's Pineapple Icebox Dessert

Crust
1 1/2 c almonds
2 T. honey

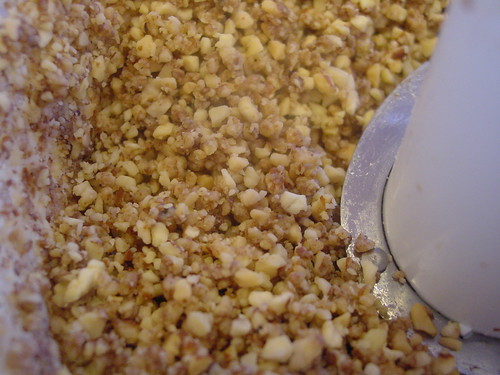
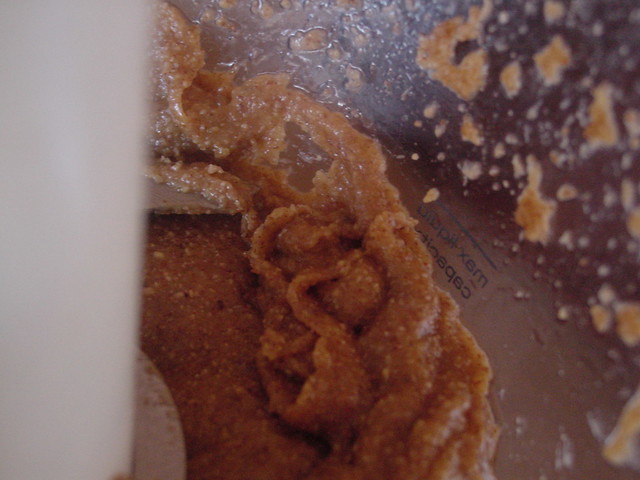
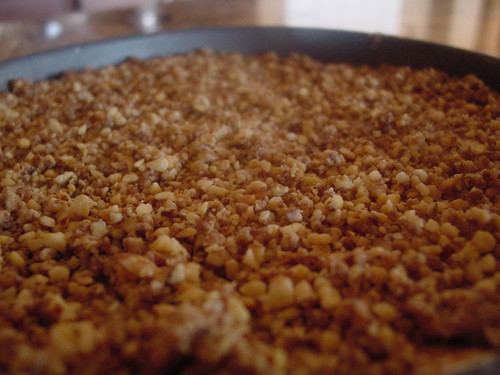
In a food processor, pulse almonds and honey until chopped roughly (it should resemble mealy pie dough).
Spread 2/3 of the crust in the bottom of a cake pan. Reserve the remaining 1/3 crust mixture to sprinkle on the top of the bars as a crumble later.

Filling
2 c crushed pineapple                                                         
1 1/2 c raw, unsalted almonds
1/4 liquid coconut oil
1/3 c agave nectar (honey can be substituted)

In the same food processor (the wonderful thing about raw food recipes is that you don't really need to clean things out after using them :)), blend the almonds, coconut oil, and agave nectar until smooth and creamy. You are essentially making almond butter. Your cream mixture will be kind of a muddy brown color if you do use almonds instead of cashews, but if you want the pretty white creamy color that Phyo gets, use blanched almonds (cheaper than cashews), or just fork out the money for cashews. Scoop the nut mixture into a small mixing bowl and fold in pineapple. Pour into the prepared crust and spread over so it covers the pan. Sprinkle remaining crust mixture on top, and freeze until set. Enjoy! :)
What I love most about this is that it only takes about 10-15 minutes to prepare. Quick, healthy, and delicious!


Monday, August 8, 2011

Cherry Cactus Rubies

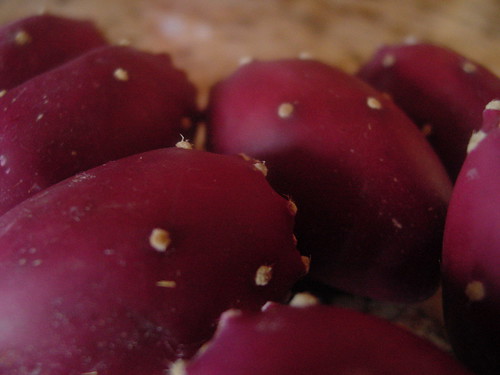
I've been experimenting with scary foods lately. Artichokes last week, and now...this. Of course, I couldn't resist writing about it after seeing how few resources for prickly pear fruit, or tunas, as they are called in Mexico, there are in the blogosphere.
If you live in or have ever visited Arizona or any state in the Southwestern United States, you have most likely seen the flat, broad cacti known as Prickly Pears. Maybe you even went full-tourist and bought some prickly pear candy of your very own just to see how it really feels to live in the Sonoron Desert.

I have.
And I've lived here for 18 years.
I won't kid around, either. Prickly pear jellies are pretty darn good. Typically sold in gas stations and gift shops state-wide, they have an endearing ruby-pink color that no artificial dye could stand up to. And they taste like some sort of freakish mixture between a kiwi, a strawberry, and...something else.
So we've established that many people are familiar with prickly pear candy. And that is good. But how would you like to make your own? Laced with all kinds of lovely flavors like orange, lemon, cherry...the possibilities are endless.
If you're not the candy-making type, then you can always just extract the  juice from these succulent (the type of plant they come from is actually called a succulent, by the way) fruits and use it for yet another myriad of ideas: cocktails, salad dressings, shoot - just drink it straight up because prickly pears are pulsating with antioxidants and vitamins A, B, and C.
I will note, however, that if you do not live in an area that has prickly pears sprouting out of the ground loaded with fruit that literally sits there rotting, the fruits can be expensive at the store. Even here in Arizona, where the plants grow in abundance, they tend to go for over a dollar for a single fruit. I blame middlemen and pre-store processing (removing the prickles).

Anyways, I got lucky and got my tunas for free. My stepfather is in Tucson for six weeks, and my family goes to visit him every Sunday. This week in particular, I took special notice of just how many bright red nuggets were sprouting from the cacti which practically grow like grass in the desert regions of Tucson. I told my mom that on our way back down, we should take advantage of how much fruit there was and pick some. I didn't get too many, because my family was impatient, but I got enough to make some lovely little gems.

Cherry Cactus Rubies
2 cups granulated sugar
2/3 cup prickly pear fruit juice (about 7-10 prickly pear fruits)
1/3 + 1/2 cup cherry juice
1/2 teaspoon each of orange and lemon extracts
2 -1 3/4 oz. packages of fruit pectin
1 1/3 cup organic blue agave nectar


Step 1: The Peeling


Needless to say, prickly pear fruits are prickly. Every website that I visited on how to prepare prickly pear fruits complained that the tiny spines on the fruit hurt so much when they inevitable poke into your fingers unless you wear gloves. I'm not sure what they were talking about, because I didn't have a problem with any cactus fruits shanking my fingers. Then again, they probably haven't played the viola for going on 11 years, either. So if you don't have horrendously calloused man-fingers, you may find it helpful to wear a pair of rubber gloves while you peel your fruit.
Besides that, the process is quite simple:
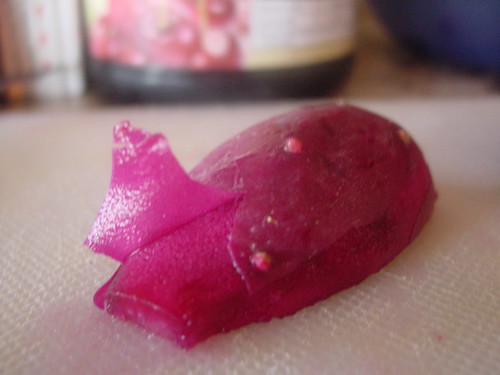
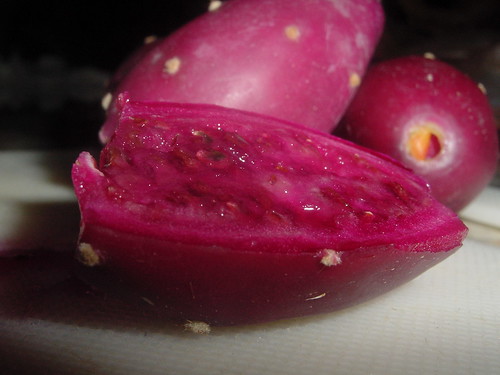
Slice the ends off, cut the fruit in half vertically, and peel the thin layer of skin off.


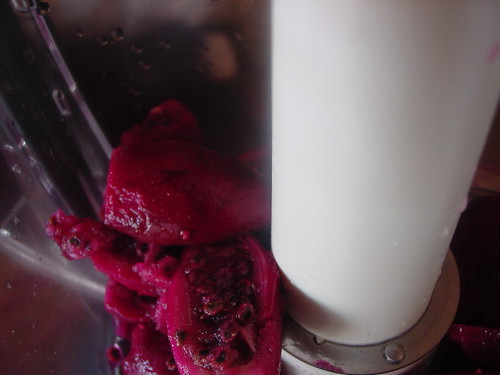
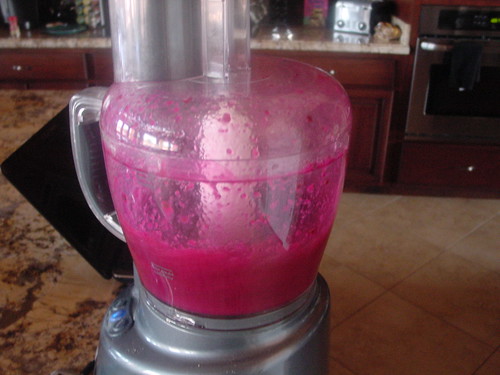
As you peel your fruit, go ahead and drop them into a food processor, seeds and all.
 How pretty!

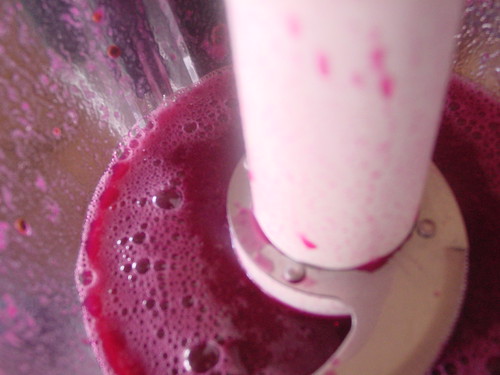
Next, puree them until there are no chunks. The seeds will not get ground up, so don't worry.
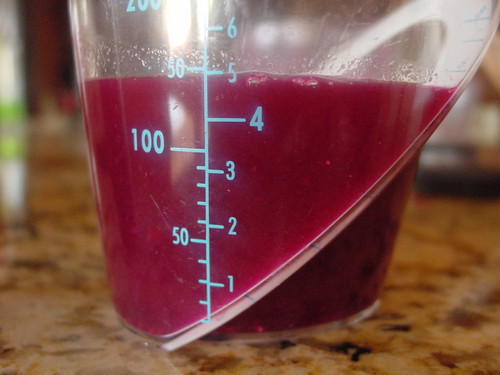
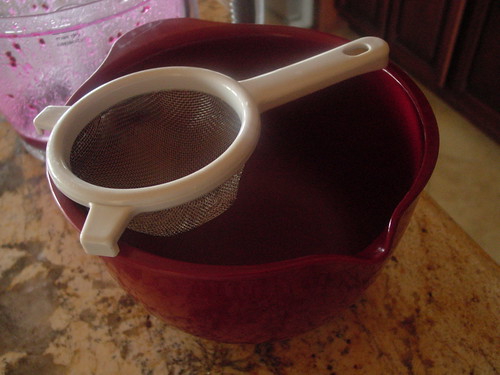
You will then pour your magenta puree through a thin sieve to strain the juice. Press the remaining pulp and seeds into the mesh to release any extra juice that may have been trapped.


Now, the fun begins.
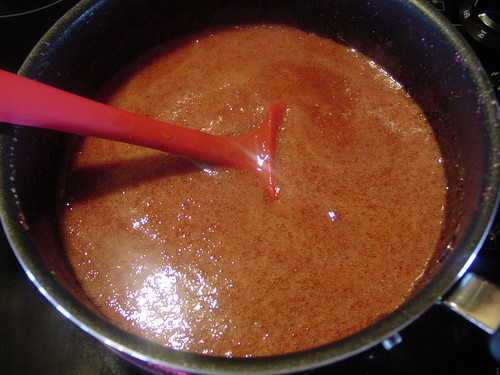
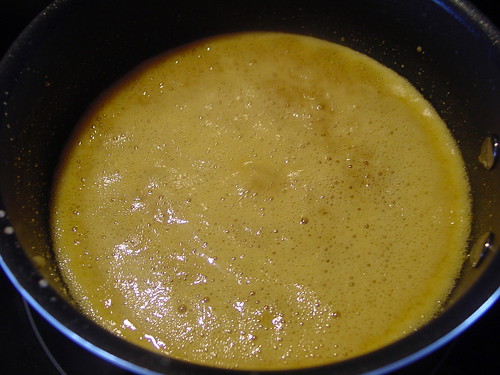
Using a much larger saucepan than I did (I had to transfer my mixtures twice!), whisk together the 2/3 c cactus juice, cherry juice, extracts, and pectin until there are no chunks of pectin. Add the baking soda and prepare for a massive foam party on your stove.


Here is our Golden Boy!
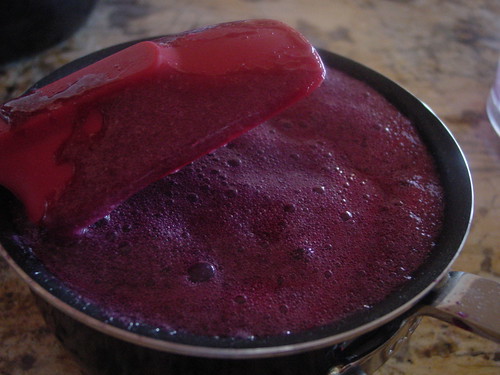
And his bubbly, blushing lover! (How cheesy am I?)
Stir and stir and stir while it boils and watch carefully to be sure it does not boil over, because that would be a very sticky mess. While your juice mixture boils for a bit, combine the sugar and agave nectar and bring to a rolling boil of sweetener. Make sure to boil your sugar mixture in a large pot - one that you would boil noodles in - because once it boils, you will add your juice mixture to it. And, when a super-sweet boy mixture meets a flirtatiously sweet-tart girl mixture, bubbly babies will ensue in your pot. More than  a regular sauce pan can handle. I know the picture may not look like much there, but the candy will foam up over the sides of the pot if you let it. Once your lovers are united in holy matrimony (or perhaps something a little less holy), let them cook together a little longer. About 2 minutes. Then remove them from heat, and stir until the mixture becomes clear. Pour this into a greased baking pan or dish. It should be rather shallow and wide to allow you to be able to slice them into reasonable-sized cubes, rather than, say...banana bread-sized slabs of jelliness.
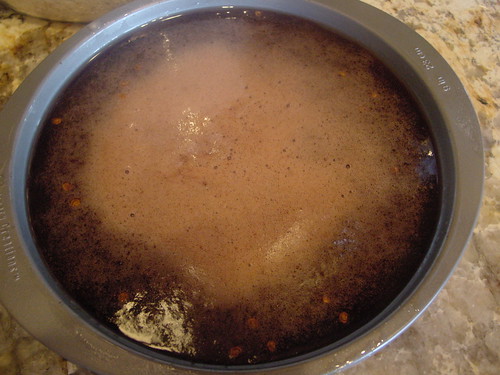
I used a round cake pan.
Psychedelic!

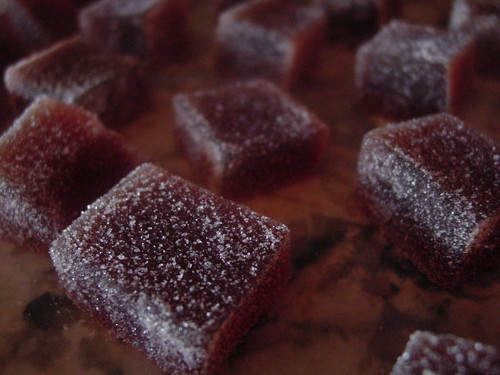
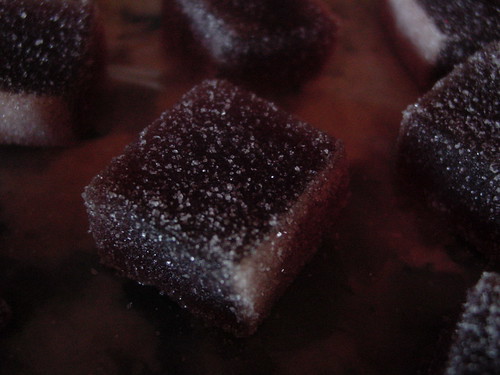
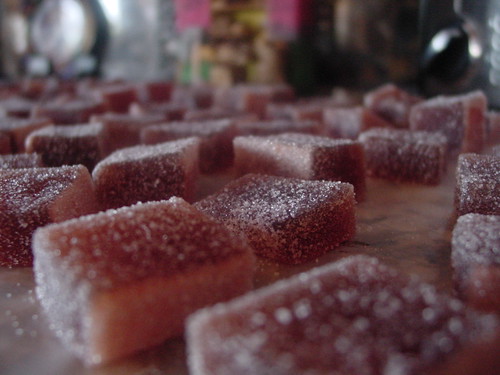
Let the mixture set at room temperature for several hours until it is firm. Once it is ready, flip it over onto a sugared piece of wax paper. Slice into cute little cubes, and dust with powdered or granulated sugar. Store in an air-tight container.

Beautiful, edible gems! :)


Sunday, April 10, 2011

White Cheddar and Broccoli Soup in Popover Bowls

Edited: March 2, 2018
Wow, I was really "cheesy" in high school, huh? ;)
Also, can you believe I've been inconsistently updating this blog since high school? I think I chose the right career, and I think it's time for a blog makeover.

Because this weekend was so strangely chilly, instead of making the Mango Pineapple Sorbet I was planning on (look for it next weekend!), I decided to showcase a nice, warm, homey meal.
This week, I did a lot of cooking, including some Teriyaki Chicken Skewers with Rainbow Stir Fry. Since broccoli was on sale this week for 99 cents a pound, I took advantage and stalked up. I saved the broccoli stalks I had leftover from the florets I used in my stir fry. With the economy and food prices these days, it's really great to use as much of a product as you possibly can. And with fresh produce, you can use very close to everything!

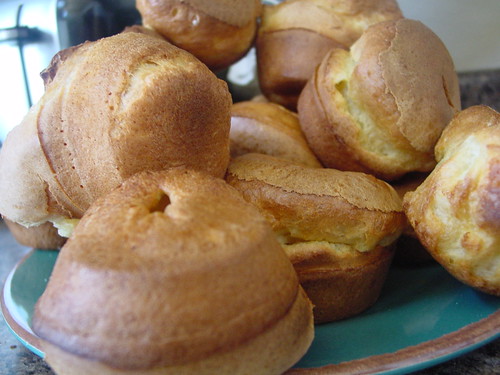
I also made several tasty little quick breads known as popovers. Popovers are extremely easy, cheap, and quick to make, and they are excellent vessels for all sorts of fillings, including chicken or tuna salad, fruit salad, jam, desserts, purees, and even soups! So you must know where I'm going with this...

Pop-On-Over Broccoli and White Cheddar Soup

Clever name, right?
On with the recipes!

Popovers
 Preheat oven to 450 degrees fahrenheit. While it's preheating, stick a muffin pan in there to heat up as well. This is an important step to remember! 
While your oven is preheating, mix together the following:

1 cup all-purpose flour, sifted 
1/4 t. salt

Also beat together:
2 eggs
1/2 t. olive oil

Begin combination by gradually (little by little) adding 3/4 c + 2 tablespoons of milk. Add the egg-oil mixture to this batter and beat for 2 minutes. Remove your hot pan from the oven, quickly oil each muffin hole, and immediately pour the batter into your muffin pan. Bake the popovers at 450 degrees for 20 minutes, then lower the temperature to 350 and finish them for another 10 minutes. If you don't plan on serving your popovers immediately, stab them in the top so that the steam inside doesn't make them all soggy and gross.

Now for the star of the show...

Broccoli White Cheddar Soup

3 broccoli stalks, roughly diced.
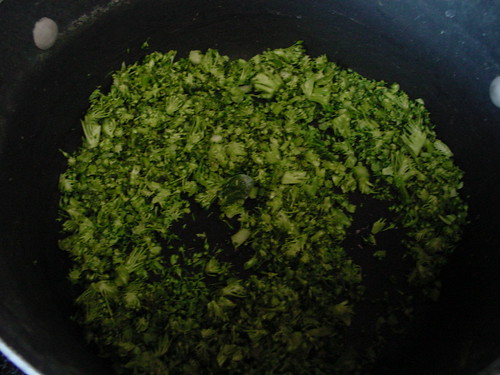
1 head broccoli florets, coarsely chopped.
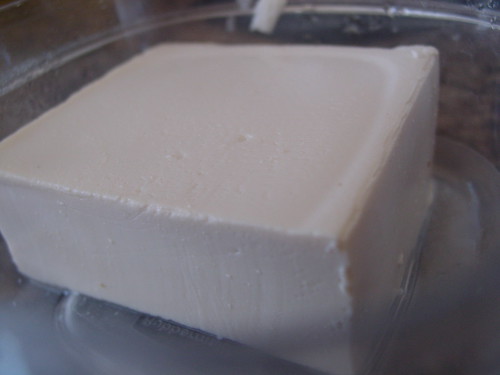
1 block of silken tofu
2 oz. white cheddar cheese (I used sliced, and used about 3 and one more for garnish), cut into thin shreds.
Salt and pepper.

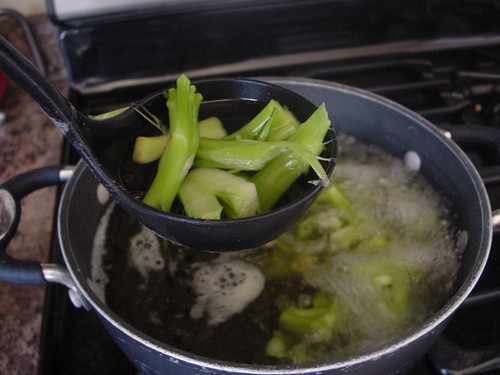
Begin by chopping up your broccoli stalks. Add them to a pot of salt water (add to taste because your broccoli stalks will become broccoli stock) with some whole black peppercorns and bring to a boil. Boil the stalks until they are fork tender, and your water has turned a delicate shade of green.

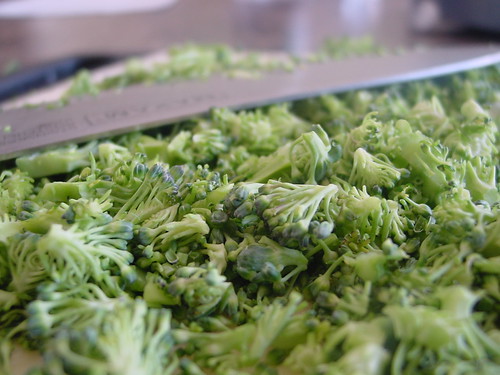
While your stalks are having a spa day, begin chopping up the florets.
After about 10-12 minutes of boiling, your stalks should be nice and tender and ready to be pureed!


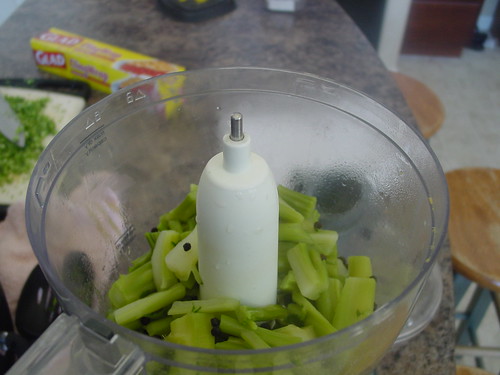
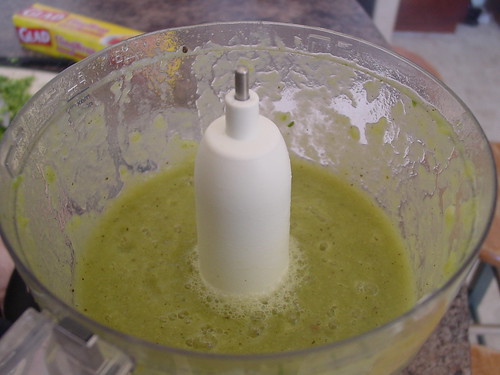
Process the stalks until they become smooth in texture. Add ladles of the stock to help smooth and thin it out. And now, in true contradictory style, it is time for a thickener...
Hey dudes what is up?
That's correct: TOFU! Oh, you thought it was cream cheese? Well think again, because that is not where the "cheese" in this recipe comes from!

Anyways, add your 3 oz. of tofu, and blend it into brocolli puree until it's all smooth and creamy. While it's blending, you can either julienne your cheese slices (make sure it's all-natural white cheddar, not like, Kraft American Cheese or something...), shred a block, or, if you bought it pre-shredded...measure it out and add it to the food processor. Continue to add stock until you reach your desired consistency.
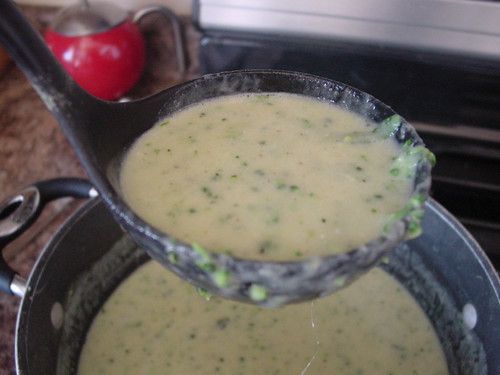
Once you have your soup blended to your liking, you can discard or save your remaining broccoli stock. Re-heat the pot while the soup is blending away, and add your broccoli florets, gently sauteeing them until they're just barely cooked. You can also add onions and garlic at this point for a little extra flavor. Next, pour  the smooth, creamy, super-broccoli soup back into the pot all over those broccoli florets, and stir it all together.


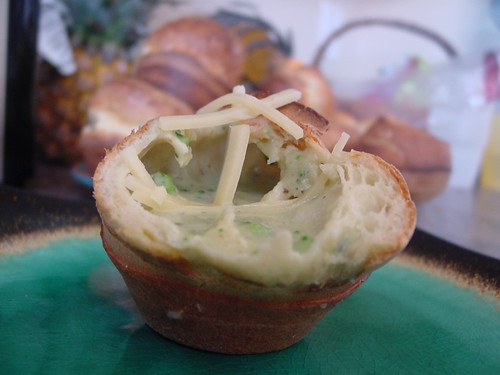
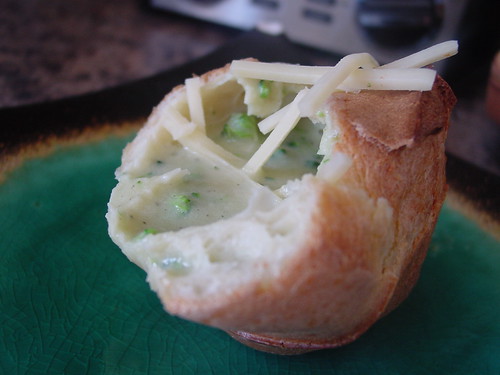
Pop the top off of one of your popovers (just check to make sure there are no holes in the bottom) and pour your creamy, dreamy, green(y) creation right on in there. Top with more shredded cheese for an extra kick.
Now, I'm sure once you taste this soup, you'll want more than the little popover can hold. So feel free just to eat your popover on the side with your soup in a bowl. But either way, they pair together wonderfully.