I've been experimenting with scary foods lately. Artichokes last week, and now...this. Of course, I couldn't resist writing about it after seeing how few resources for prickly pear fruit, or
tunas, as they are called in Mexico, there are in the blogosphere.
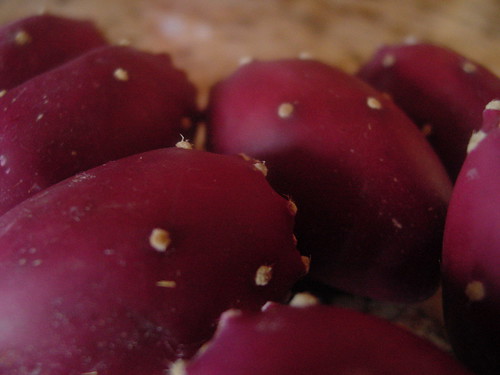
If you live in or have ever visited Arizona or any state in the Southwestern United States, you have most likely seen the flat, broad cacti known as Prickly Pears. Maybe you even went full-tourist and bought some prickly pear candy of your very own just to see how it really feels to live in the Sonoron Desert.
I have.
And I've lived here for
18 years.
I won't kid around, either. Prickly pear jellies are pretty darn good. Typically sold in gas stations and gift shops state-wide, they have an endearing ruby-pink color that no artificial dye could stand up to. And they taste like some sort of freakish mixture between a kiwi, a strawberry, and...something else.
So we've established that many people are familiar with prickly pear candy. And that is good. But how would you like to make your own? Laced with all kinds of lovely flavors like orange, lemon, cherry...the possibilities are endless.
If you're not the candy-making type, then you can always just extract the juice from these succulent (the type of plant they come from is actually called a succulent, by the way) fruits and use it for yet another myriad of ideas: cocktails, salad dressings, shoot - just drink it straight up because prickly pears are pulsating with antioxidants and vitamins A, B, and C.
I will note, however, that if you do not live in an area that has prickly pears sprouting out of the ground loaded with fruit that literally sits there rotting, the fruits can be expensive at the store. Even here in Arizona, where the plants grow in abundance, they tend to go for over a dollar for a single fruit. I blame middlemen and pre-store processing (removing the prickles).
Anyways, I got lucky and got my tunas for free. My stepfather is in Tucson for six weeks, and my family goes to visit him every Sunday. This week in particular, I took special notice of just how many bright red nuggets were sprouting from the cacti which practically grow like grass in the desert regions of Tucson. I told my mom that on our way back down, we should take advantage of how much fruit there was and pick some. I didn't get too many, because my family was impatient, but I got enough to make some lovely little gems.
Cherry Cactus Rubies
2 cups granulated sugar
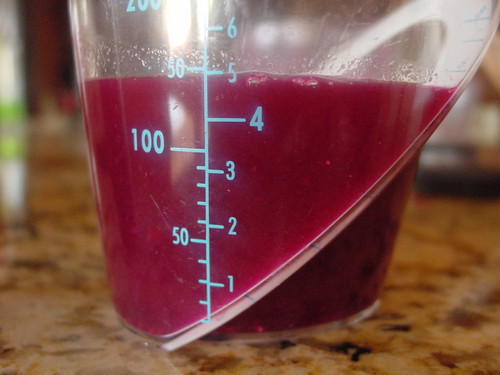
2/3 cup prickly pear fruit juice (about 7-10 prickly pear fruits)
1/3 + 1/2 cup cherry juice
1/2 teaspoon each of orange and lemon extracts
2 -1 3/4 oz. packages of fruit pectin
1 1/3 cup organic blue agave nectar
Step 1: The Peeling
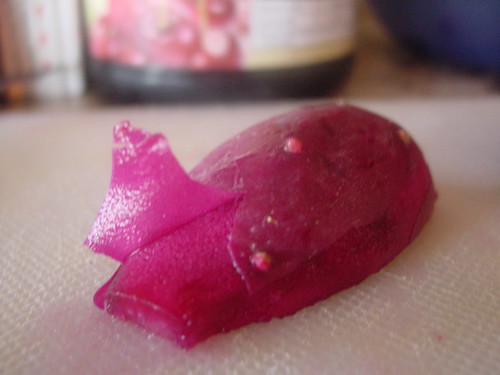
Needless to say, prickly pear fruits are prickly. Every website that I visited on how to prepare prickly pear fruits complained that the tiny spines on the fruit hurt
so much when they inevitable poke into your fingers unless you wear gloves. I'm not sure what they were talking about, because I didn't have a problem with any cactus fruits shanking my fingers. Then again, they probably haven't played the viola for going on 11 years, either. So if you don't have horrendously calloused man-fingers, you may find it helpful to wear a pair of rubber gloves while you peel your fruit.
Besides that, the process is quite simple:
Slice the ends off, cut the fruit in half vertically, and peel the thin layer of skin off.
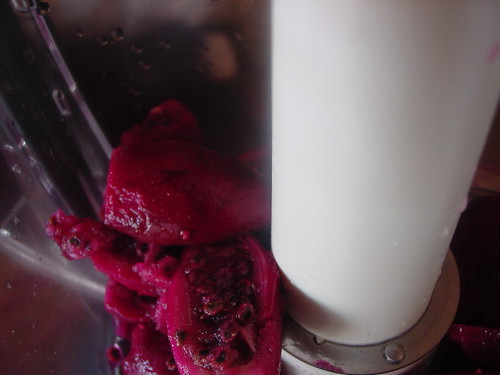
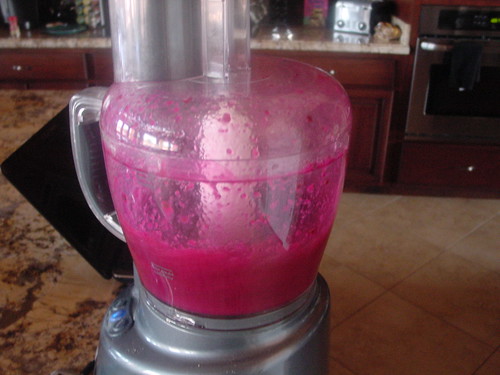
As you peel your fruit, go ahead and drop them into a food processor, seeds and all.
How pretty!
Next, puree them until there are no chunks. The seeds will not get ground up, so don't worry.
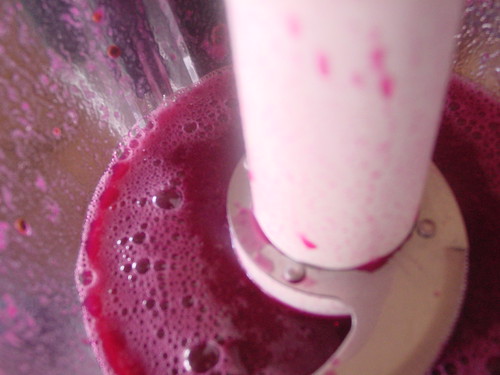
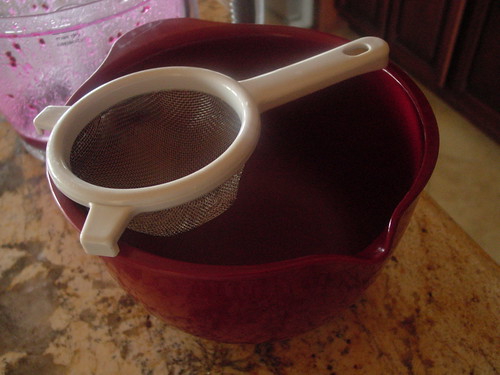
You will then pour your magenta puree through a thin sieve to strain the juice. Press the remaining pulp and seeds into the mesh to release any extra juice that may have been trapped.
Now, the fun begins.
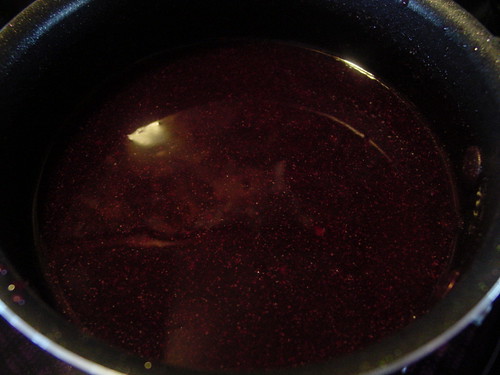
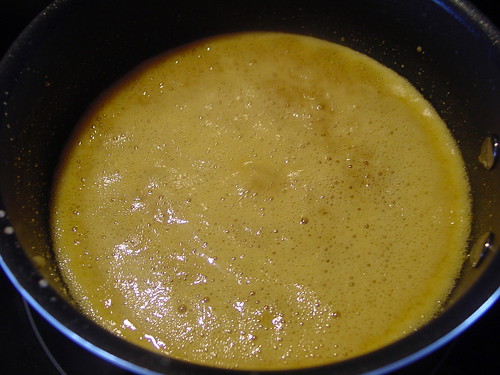
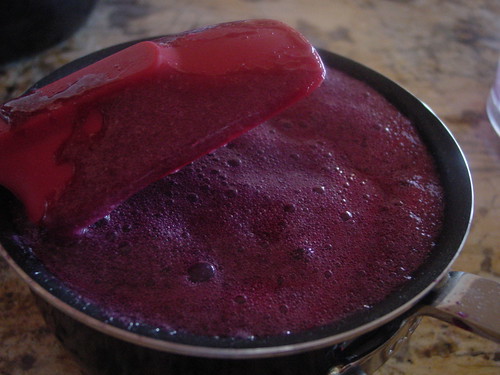
Using a much larger saucepan than I did (I had to transfer my mixtures twice!), whisk together the 2/3 c cactus juice, cherry juice, extracts, and pectin until there are no chunks of pectin. Add the baking soda and prepare for a massive foam party on your stove.
 |
| Here is our Golden Boy! |
 |
| And his bubbly, blushing lover! (How cheesy am I?) |
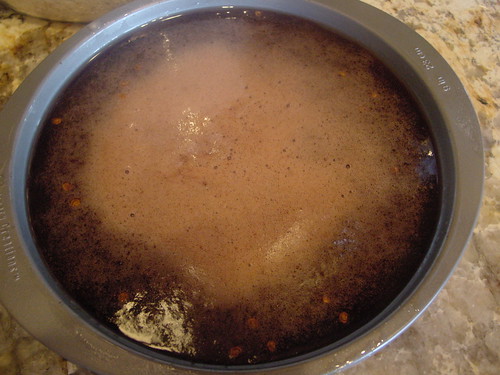
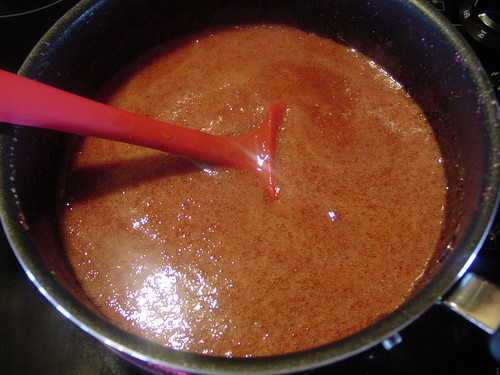
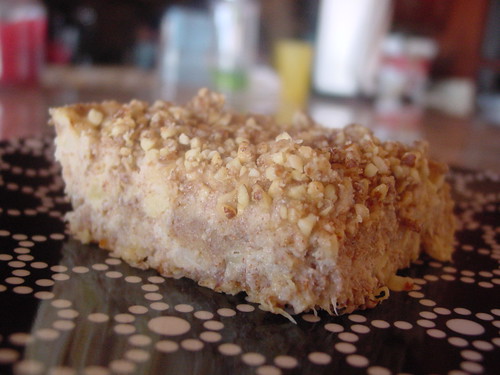
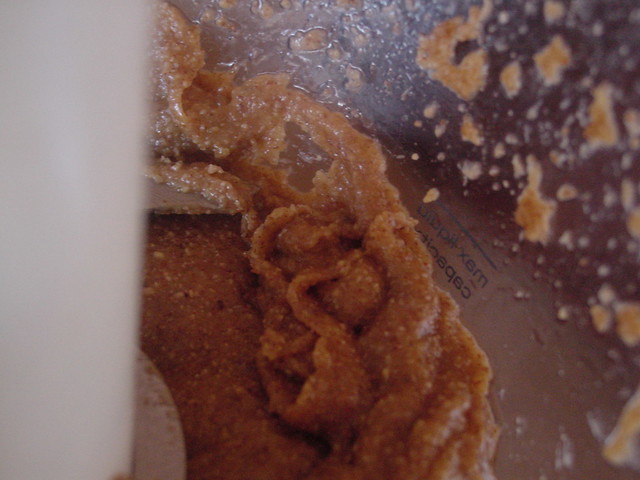
Stir and stir and stir while it boils and watch carefully to be sure it does not boil over, because that would be a very sticky mess. While your juice mixture boils for a bit, combine the sugar and agave nectar and bring to a rolling boil of sweetener. Make sure to boil your sugar mixture in a large pot - one that you would boil noodles in - because once it boils, you will add your juice mixture to it. And, when a super-sweet boy mixture meets a flirtatiously sweet-tart girl mixture, bubbly babies will ensue in your pot. More than a regular sauce pan can handle. I know the picture may not look like much there, but the candy will foam up over the sides of the pot if you let it. Once your lovers are united in holy matrimony (or perhaps something a little less holy), let them cook together a little longer. About 2 minutes. Then remove them from heat, and stir until the mixture becomes clear. Pour this into a greased baking pan or dish. It should be rather shallow and wide to allow you to be able to slice them into reasonable-sized cubes, rather than, say...banana bread-sized slabs of jelliness.
I used a round cake pan.
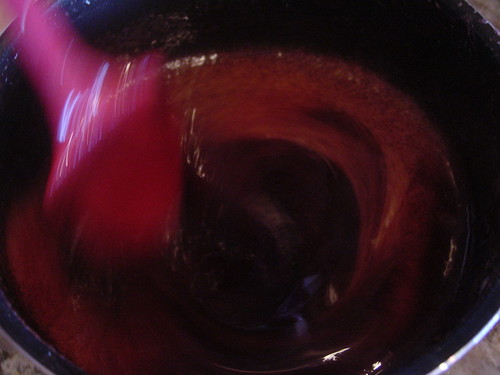 |
| Psychedelic! | | | | | | |
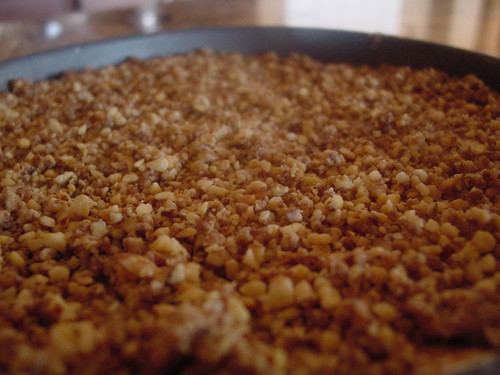
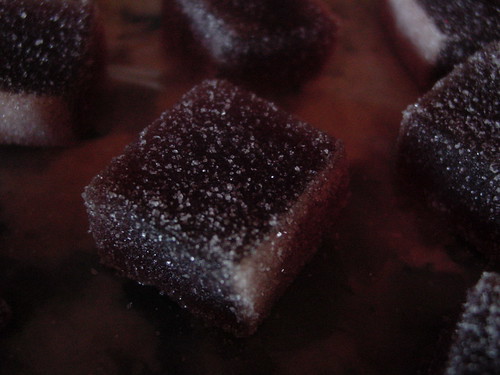
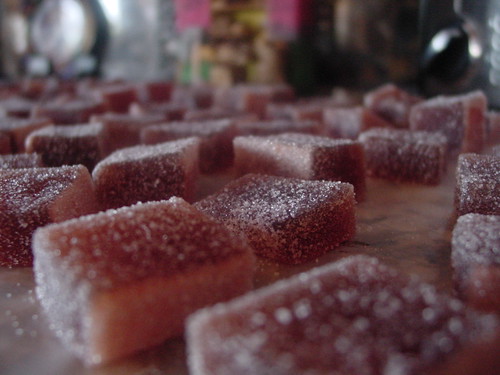
Let the mixture set at room temperature for several hours until it is firm. Once it is ready, flip it over onto a sugared piece of wax paper. Slice into cute little cubes, and dust with powdered or granulated sugar. Store in an air-tight container.
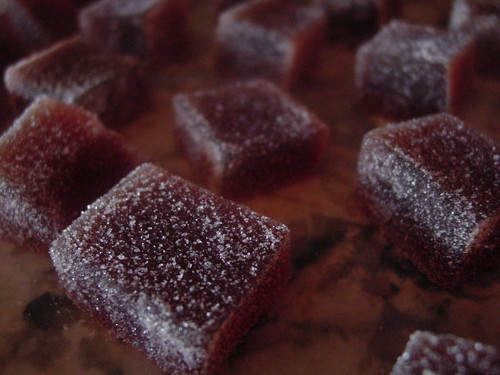 |
| Beautiful, edible gems! :) |